MySQL Workbench
Now that we've installed MySQL, let's take a look at MySQL Workbench. MySQL Workbench is a graphical tool for working with MySQL.
What is MySQL Workbench?
MySQL Workbench is a graphical tool for working with MySQL. It's similar to SQL Server Management Studio, which is the main administration console for SQL Server.
MySQL Workbench allows you to program and run queries against your database (eg, create databases, create tables, insert/update & select data, etc). It also allows you to create user accounts, export/import data, monitor client connections, and more.
Download MySQL Workbench
First step to using MySQL Workbench is to make sure it's installed. If it is installed, it's likely to be located where your other applications are located (eg, Program Files on Windows, Applications on a Mac). Also check inside the MySQL folder. If you installed MySQL on a Windows machine using MySQL Installer it's likely that you also installed MySQL Workbench at the same time.
If Workbench isn't installed on your system, you can download it and install it for free. This should only take a few minutes.
First step is to download MySQL Workbench from the MySQL website.
Install MySQL Workbench
-
Extract the Installer Package
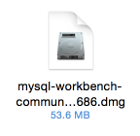
Once you've downloaded the installation file, the next step is to install it.
Seeing as I'm installing onto Mac OS X the first step is to double click on the .dmg file.
-
Install
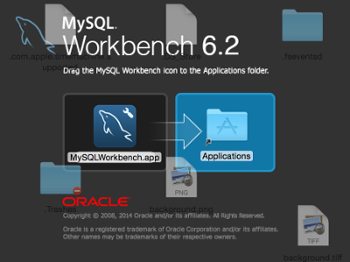
Drag the MySQLWorkbench.app file across to the Applications folder.
That's it — it's installed!
If you are installing on to Windows or Linux, the steps will be different. See installing MySQL Workbench from the MySQL website if you need help in getting it installed.
Run MySQL Workbench
Now that we've installed it, let's run it.
-
Open MySQL Workbench
You can open MySQL Workbench just as you would open any other application.
On the Mac we can do it by clicking on the MySQLWorkbench.app icon in the Applications folder.
-
Open a Connection
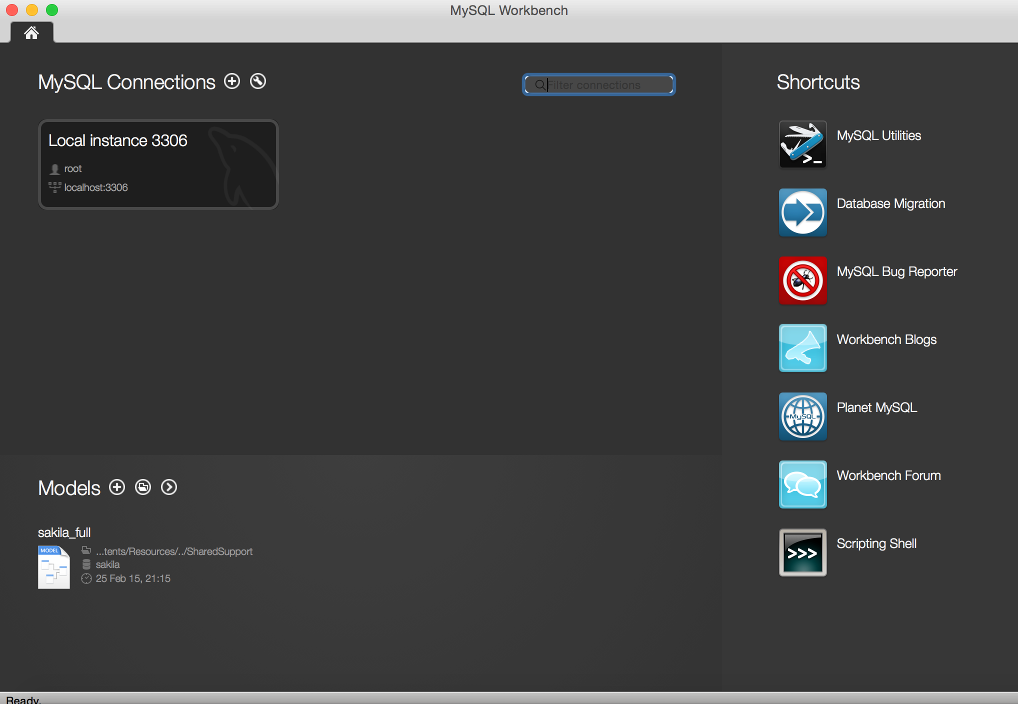
Once MySQL Workbench has been launched, the Connections screen is displayed.
Click on an instance to launch that in the workbench.
In this case, I only have one instance so I clicked on Local instance 3306.
Enter a password if required.
-
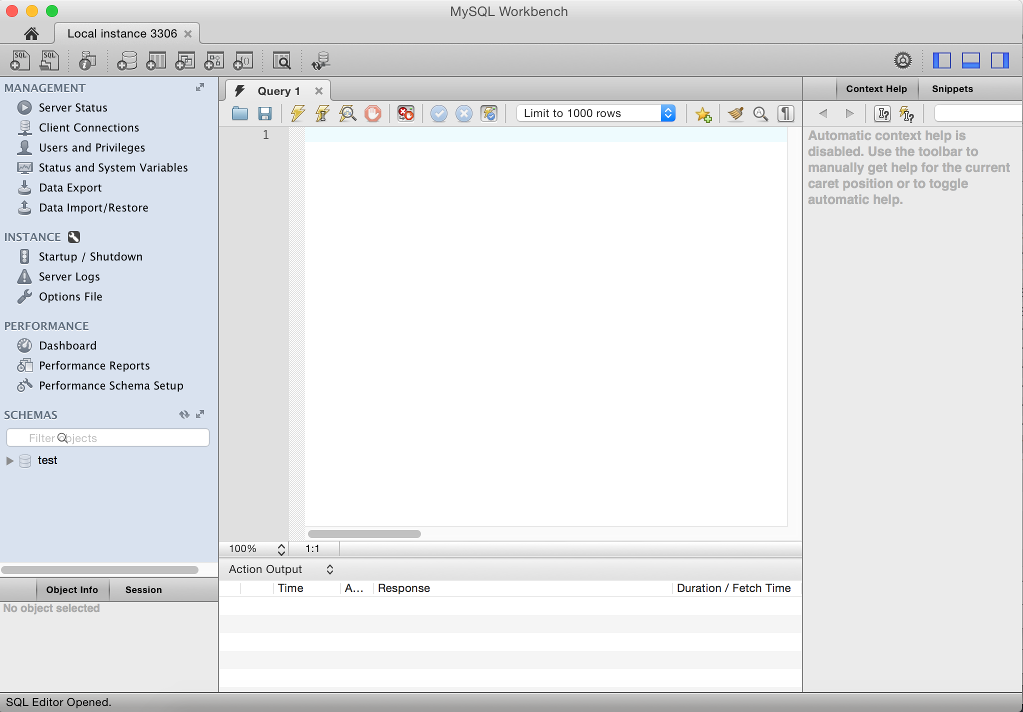
The Main Workbench
The main workbench area is displayed.
This is the main interface that allows you to work with your MySQL instances.
The left pane in the above screenshot includes the Management tab (sometimes referred to as the "Navigator Management Tab") and the Schemas tab.
Although the above screenshot shows both the Management tab and the Schema tab, they can be separated into two different tabs by clicking on either of the two arrow icons adjacent to MANAGEMENT or SCHEMAS. Once separated, they will appear as separate tabs. You'll see what I mean when you see some of the other screenshots in this tutorial.
-
Management Tab
The Management tab contains the MANAGEMENT, INSTANCE, and PERFORMANCE sections. The Commercial version of MySQL also contains a MYSQL ENTERPRISE section which includes Audit Inspector, Online Backup, and Backup Recovery.
-
Schemas Tab
The Schemas tab (which currently contains test) provides an object browser that enables you to view database tables, views, and other objects within the schema.
-
Query Tab
In the center we have the Query Tab (i.e. the tab that contains Query 1). The Query Tab is used for entering and executing queries (such as creating databases, tables, selecting data, etc).
-
How to Execute a Query?
When working with MySQL, you'll spend a large portion of your time executing queries and other SQL statements and commands.
There are a several ways to execute a query. Choose which method you feel comfortable with. First, you must enter the query into the Query tab. Then once you've done that, you can run it.
- You can run a query by clicking the Run icon. The Run icon looks like this:

- Alternatively, you could click the icon next to it to execute the statement under the keyboard cursor.
- You can also run a query by selecting Query | Execute (All or Selection) (or one of the alternative options).
- You can also run a query by using the keyboard shortcuts as presented next to each option under the Query menu. For example, on a Mac you could use Shift | Command | Enter to Execute (All or Selection).
We'll be running an SQL command next when we create a database so that will give you a chance to practice it :)
Access Privileges
Whenever you connect to MySQL, your login credentials are used to determine what access you have. For example, you might be allowed to do some things (like select data) but not others (like delete data or drop a database).
Many users could connect to the same MySQL server and each user could be assigned a different level of access. Generally someone with administrative access privileges will create user accounts with the appropriate access privileges for that user. The administrator can pretty much do anything they need (or want) on the MySQL server.
This tutorial assumes that you have administrative privileges, or at least a privilege that allows you to create, drop, alter databases and their objects, as well as insert, select, update, and delete data within the database.