About Web Graphics
This page contains a brief overview of graphics on the web.
In the HTML tutorial and CSS tutorial, I explain how to embed a graphic image into a web page. In HTML you use the img tag, combined with the path to the image. In CSS you can specify a background image to appear on an element's background. To do this in CSS you can use the background-image property (or any of the related background properties) or the border-image property.
In any case, both HTML and CSS assume that you already have an image located on the web somewhere. This tutorial will show you how to create the actual image.
Examples of Web Graphics
Before we start creating our own graphic, lets look at some examples of web graphics.
| Logo | Logos are one of the most common uses of web graphics. Most websites have a logo on every page. Logos are usually created using illustration software, such as Adobe Illustrator, then exported to PNG or GIF format. | |
| Photo |  |
Photos are becoming increasingly popular too, especially with so many digital cameras and camera phones available these days. Photos are usually either scanned into the computer, or imported directly from a digital camera. Once the photo is saved on the computer, you can make adjustments, re-size it, and then save it in PNG or JPEG format. |
| Icons | Icons can help a website look more professional, as well as help users quickly identify the purpose of a link. Icons are usually created using illustration software, such as Adobe Illustrator, then exported to PNG or GIF format. | |
| Decorative Image |  |
Decorative images are often used to do the bits that HTML and CSS can't do. Decorative images are also commonly used for repeating backgrounds on web pages.
Depending on the image, a decorative graphic can be created using illustration software such as Adobe Illustrator, or image editing software such as Photoshop or GIMP. It is then exported to PNG or GIF format. |
Web Graphics - Properties
Most browsers provide you with an easy way to view the properties of any graphic on the web. Here's an example:
- Load a web page with a graphic
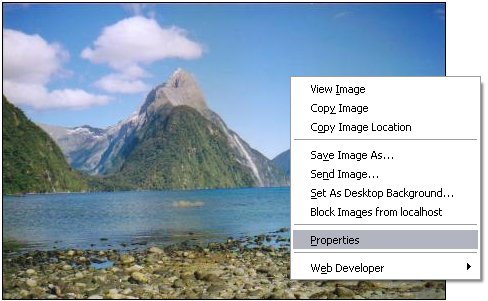
- Right click on the graphic, and select "Properties":
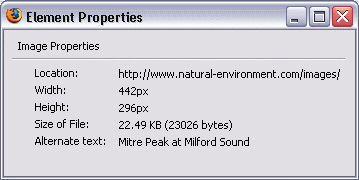
- You should now see the properties of the image:
- Sometimes the image path is too long to fit in the window. In this case, depending on your browser, you may be able to click and drag the window to make it wider.
Update
Newer browsers no longer use Properties for viewing image properties.
If you don't have the Properties option, look for View Image Info or Inspect Element, or similar.
Displaying Web Graphics
Once an image has been created, it needs to be uploaded to a web server so that you can display it in your web pages. These are the steps you need to take in order to get a graphic to display on your website:
- Create the graphic
- Save it in a web format
- Upload it to a web server
- Embed the graphic into your web page (using HTML or CSS)